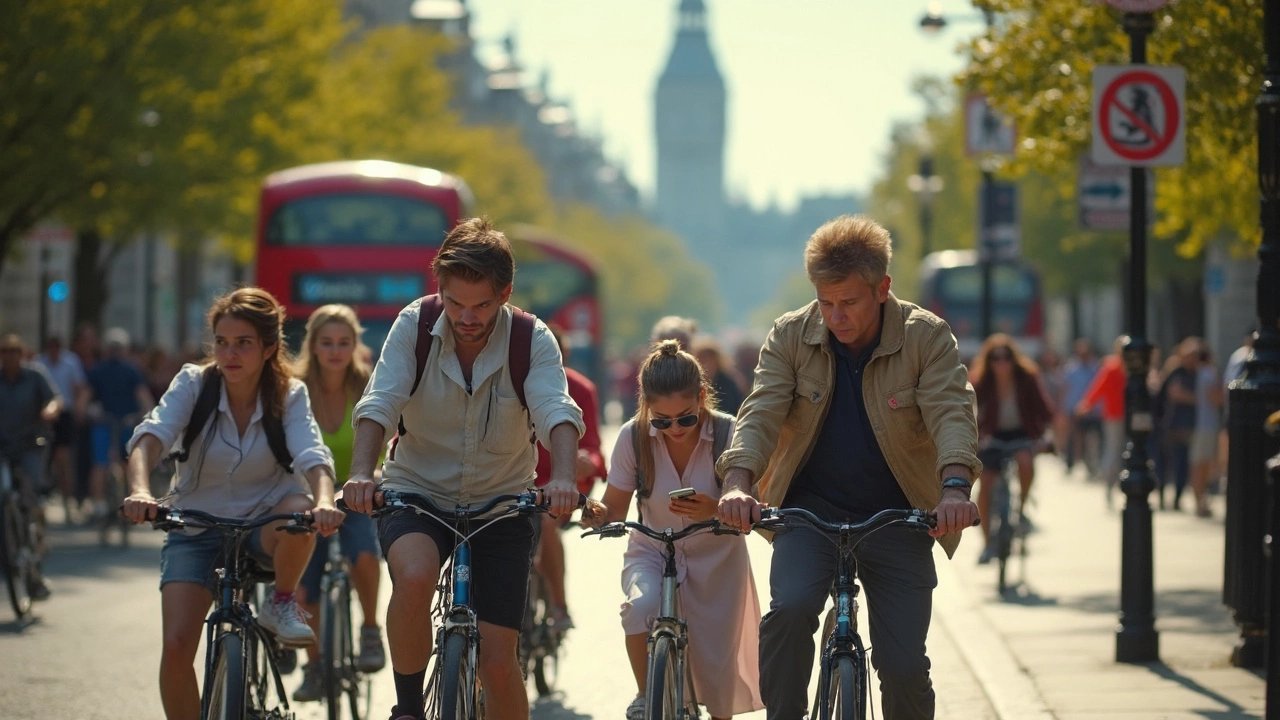
Ever stared at a map, not knowing if a street has a bike lane or if you’ll end up detouring through endless hills? Google Maps makes this a whole lot easier for cyclists. The best part—it’s totally free and easy to use, whether you’re riding across town or mapping a whole new route for the weekend.
First, open the app or website and pop in your start and end points just like you would for driving. But here’s where things get cool: tap the little bike icon. Google Maps instantly shows you a route that’s built for cycling—including bike paths and quieter side streets. No more guessing if that busy road will have you clenching your handlebars.
You’re not stuck with only one suggested route either. Usually, Google Maps throws up a few alternatives. Look for the green-highlighted options—that means they’re extra bike-friendly. Some will use dedicated bike lanes, while others might take a sneaky neighborhood shortcut you never knew existed.
- Why Use Google Maps for Cycling?
- Step-by-Step Route Planning
- Customizing Your Cycling Trip
- Best Tips for Cyclists Using Google Maps
Why Use Google Maps for Cycling?
Ever tried cobbling together a cycling route using paper maps or random apps, only to wind up lost or on a road that feels like a race track? With Google Maps, you skip the guesswork. It gears everything toward convenience, safety, and helping you actually enjoy your ride instead of stressing about what’s next.
One of the biggest perks is it highlights real bike paths and bike lanes, not just roads open to cars. Google Maps takes data from city planners and local cyclists, weaving in up-to-date info about traffic, elevation, and construction closures. If you live in a city like Portland or Amsterdam, you’ll notice whole networks of bike-friendly options that just don’t show up the same way in driving directions.
“Google Maps has become invaluable for active transportation. It brings together city data, community input, and real-time updates to make cycling in cities both safer and more appealing.”
— League of American Bicyclists
And let’s talk about real-time details. You get notifications about traffic jams, closed bike lanes, or route changes along the way. So if a new street project blocks your regular ride, Google might give you a heads-up and suggest a safer detour.
Still on the fence? Check out these quick stats showing why cyclists are turning to Google Maps more than ever:
| Feature | Why It Matters | Fun Fact |
|---|---|---|
| Bike Lane Data | Shows real paths & lanes, not just roads | Over 50M bike routes mapped worldwide (2024) |
| Elevation Details | No more surprise steep hills | Adds elevation graphs to route options |
| Community Reports | Users flag hazards or cool finds | Thousands of updates daily from cyclists |
| Offline Maps | Navigation works even with spotty service | Download before you ride for peace of mind |
If you’re juggling work, kids (trust me—riding with Paxton taught me a thing or two about route planning), or just want to try a new trail every weekend, Google Maps lets you do it without endless planning. All you need is a phone and a sense of adventure.
Step-by-Step Route Planning
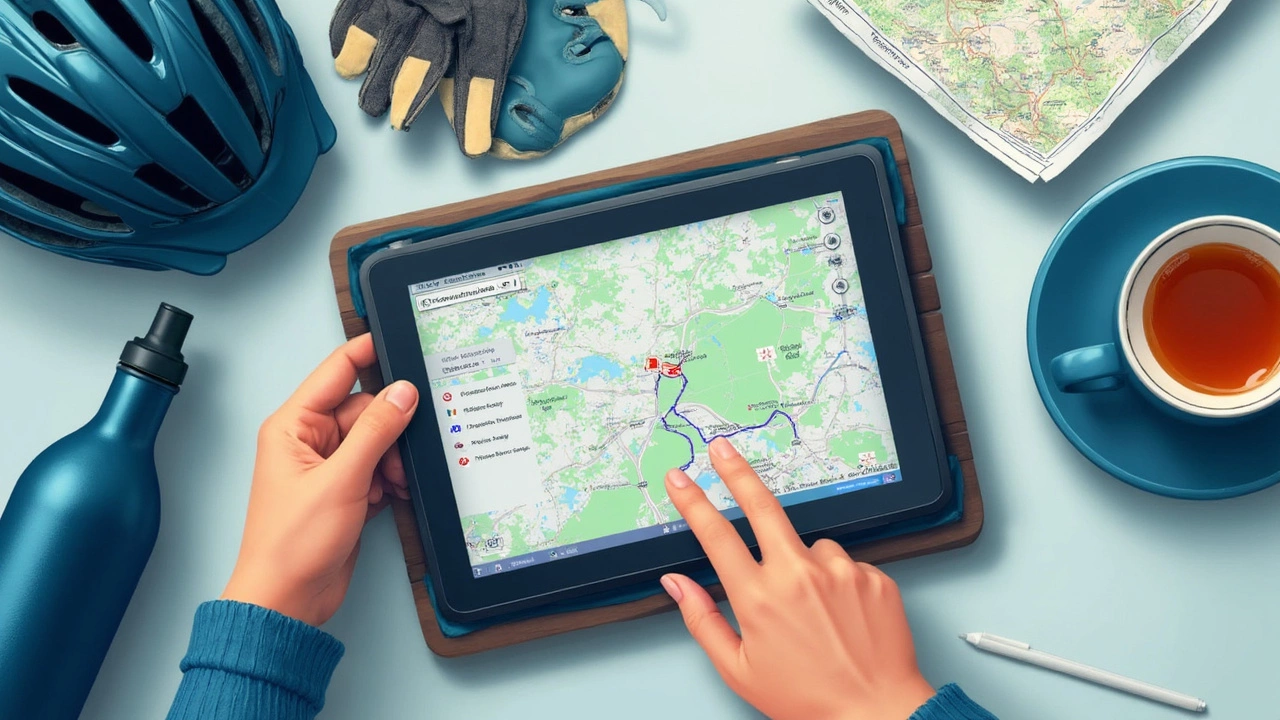
Setting up your ride on Google Maps is pretty simple, but knowing each step can save you stress before you even hop on your bike. Here’s how you plan your Google Maps cycling route from scratch—no guesswork, just results.
- Open Google Maps (on your phone or PC—both work just fine).
- Tap the "Directions" button and type in your starting point and destination. You can use addresses, landmarks, or even drop a pin.
- Pick the bike icon among the travel modes. On mobile, it’s usually at the top, right next to the car and transit buttons.
- Review your options. Google Maps generally shows two or more different routes. Pay attention to the ones with the most green lines; those mark dedicated bike lanes or paths.
- Check the distance and estimated time. The estimate is usually calculated assuming a normal pace—about 16 km/h (10 mph) for most urban rides.
- Tap on any section of the route for more info. You’ll see elevation changes, which are key if you want to avoid big hills. Extra tip: Zoom in on tricky bits to spot sharp turns or stretches without bike lanes.
- Want custom stops? Tap the three dots (or "Add stop" button), then add in places to grab coffee, refill bottles, or meet up with friends. You can add multiple stops, and Google will adapt your route automatically.
- Hit “Start” and let Google guide you turn-by-turn. Voice navigation works hands-free, so you can keep your focus on the road.
If you need stats at a glance, here’s what you can expect during a typical urban cycling route using Google Maps:
| Feature | Google Maps Availability |
|---|---|
| Bike lane guidance | Shows as green lines, real-time |
| Elevation preview | Graph available after selecting route |
| Route alternatives | 2–4 per trip |
| Live traffic and closures | Updates included on most major streets |
| Estimated cycling speed | 16 km/h baseline |
Don’t forget, you can save your route or switch to offline mode if you’ll be out of signal range. That way, you’re never stuck mid-ride playing the guessing game with local roads.
Customizing Your Cycling Trip
Getting a basic route is just the beginning. Google Maps lets you take things up a notch and really make the ride your own. Whether you want to add a coffee stop, avoid that giant hill, or see where to refill your water, you can tweak the route however you like.
Let’s break down what you can do:
- Add Stops: Tap the three dots in the top-right corner when you’re looking at directions and hit “Add stop.” You can add as many stops as you want—perfect if you’re meeting friends or hitting up a favorite bakery. Just drag them around to reorder.
- Avoid Certain Roads: Google Maps doesn’t have an obvious “avoid this road” button, but you can get creative. Pick an alternate route, or drag the route using your mouse on desktop to stay clear of a tricky road or sketchy intersection.
- Check Elevation: Nobody likes surprise hills. Before you hit 'Start,' scroll down the trip summary—you’ll see a chart showing climbs and descents. Anything over a 5% grade will feel steep, especially if your legs aren’t warmed up.
- See Bike Lanes: On the desktop, turn on the cycling layer (the two-wheeled icon on the right side). This highlights dedicated bike trails in green, on-street bike lanes in dotted green, and bike-friendly roads in brown.
- Download for Offline Use: If you’re heading where signal drops, save your route. Tap your profile, go to “Offline maps,” and select your area. The map stays loaded—even if you’re in the middle of nowhere.
You can also share your route with friends or family. Just hit “Share directions” to text or email your whole ride plan—which comes in handy if you’re organizing a group ride or want your spouse to know where you’ll be.
Here’s a handy table showing common Google Maps cycling route features you might want to use, and how to access them:
| Feature | How To Use | Where To Find |
|---|---|---|
| Add Stops | "Add stop" from route options menu | In app or desktop, under directions menu |
| Change Route | Drag route with mouse / pick alternate | Desktop, or by tapping alternate path on app |
| See Elevation | Scroll to trip summary below map | On all cycling directions pages |
| Offline Maps | Download map area before trip | App, profile menu → Offline maps |
| Bike Lanes Layer | Turn on cycling mode in map layers | Desktop, layer menu right side |
By using these features, you don’t have to settle for the standard path. Your Google Maps cycling route is totally in your control. Play around with stops and layers before your next ride and you’ll avoid those "wish I knew that" moments out on the road.
Best Tips for Cyclists Using Google Maps
There’s a bunch of simple tricks that can make planning a bike route on Google Maps way smoother and safer. Here’s what you should keep in mind:
- Google Maps isn’t perfect about road conditions. Zoom in as close as possible on your whole route. Look for rivers, busy highways, or steep elevation lines—sometimes the “best” route sends you on a gravel path or steep hill by accident.
- Always check the street view at certain turns or intersections. You can spot roadwork, rough surfaces, or check if the bike lane actually exists. Last summer, I found a new speed bump in the middle of my commute this way—no surprise pothole crash that week!
- Double-check the real-time traffic layer, even on bike mode. Google Maps sometimes spots traffic jams even on side roads, and a backed-up area usually means more distracted drivers or random obstacles.
- When setting up your ride, don’t forget to save your map offline, especially if you’ll be somewhere with spotty signal. Tap the three dots in the directions screen and download your entire route. Trust me, dodging dead zones is way less stressful than arguing with your phone mid-ride.
- Custom pins can help if you want to mark a bathroom stop, a cool café, or a place you know Paxton will love for a snack break. Just press and hold anywhere on the map and hit “Save.” This is a lifesaver if you’re on a longer ride.
- Keep an eye on upcoming weather using the built-in Google weather shortcut—it’ll show you if you’re about to ride into a downpour or fry in the sun.
- If you use a handlebar phone mount, switch on voice navigation. Google Maps will shout out directions, so you don’t have to keep glancing down. Or if you prefer, put an earbud in just one ear and follow the audio cues.
These tips make a legit difference. Simple choices, like checking street view or downloading your route, can turn a tough ride into something you actually look forward to.